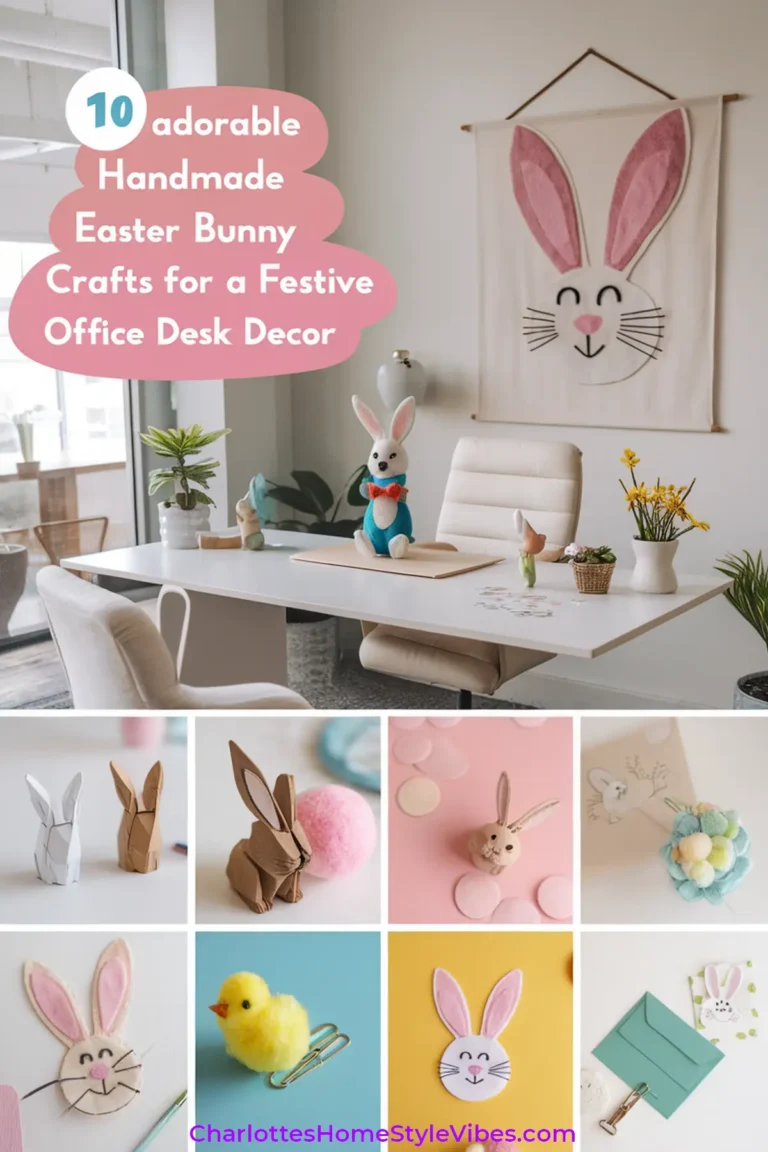
Are You Ready to Get Crafty This Easter?
Easter is just around the corner, and what better way to celebrate than by getting crafty? If you’re looking to add a splash of joy to your workspace, we have just the thing!
These 10 adorable handmade Easter bunny crafts will not only make your desk festive, but they will also provide an enjoyable activity to share with friends and family.
Felt Easter Bunny Desk Decor
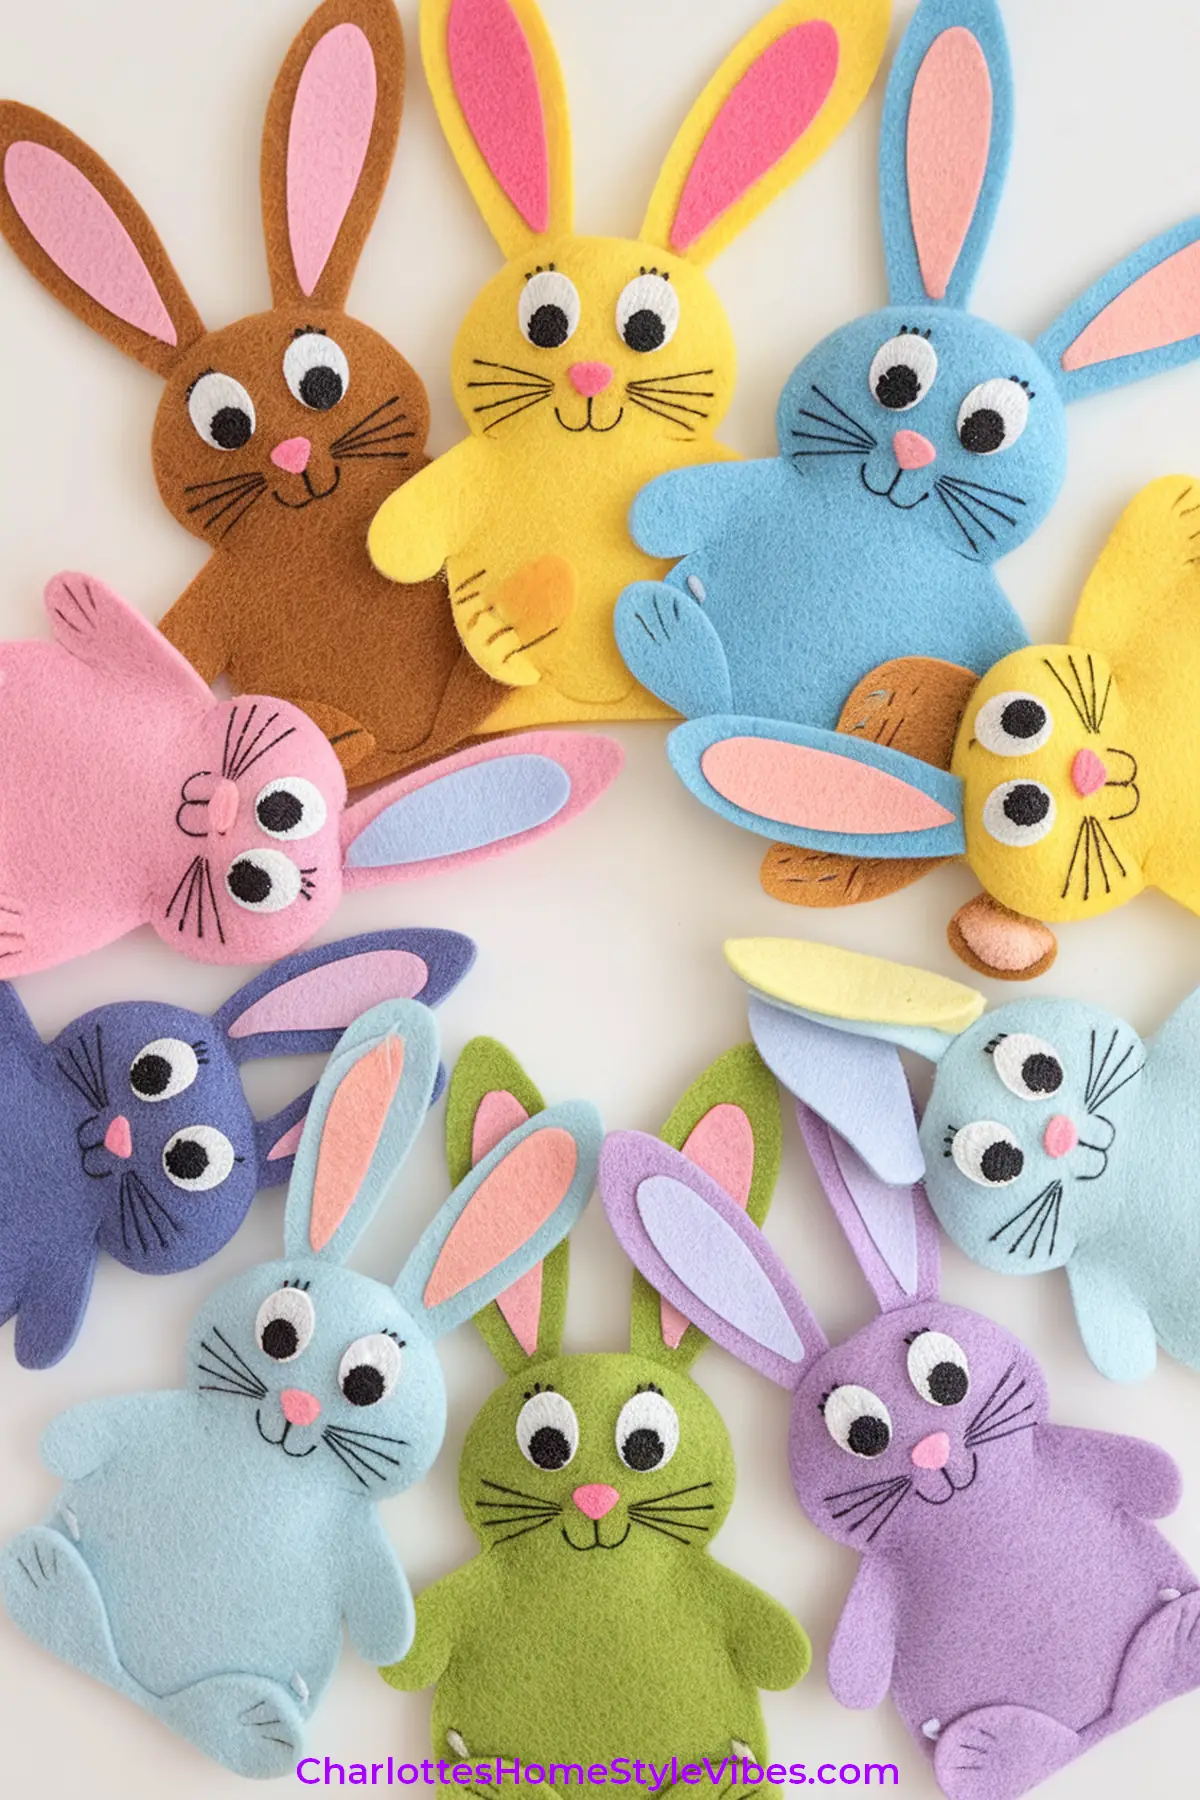
Creating felt Easter bunny desk decor is an enjoyable and straightforward craft that can infuse a festive atmosphere into any workspace. The primary materials you will need include colorful felt sheets, scissors, craft glue, and optionally, embellishments like buttons, ribbons, or googly eyes. These materials are widely available and allow for creative expression in crafting whimsical felt bunnies.
To begin, select a few vibrant shades of felt to represent your bunnies. Start by cutting out bunny shapes from the felt. A simple bunny silhouette can be composed of one main body piece and smaller pieces for the ears and tail. A good guideline is to cut a 6-inch oval for the body and two elongated ovals for the ears, which can be around 3 inches in length. Think about using lighter shades for the body and contrasting colors for the ears to create visual interest.
Once you have your felt pieces cut, assemble the bunnies by gluing on the ears and tail to the main body. For added detail and flair, you may want to customize your bunnies with accessories. This is where creative freedom truly shines; for instance, you can use small buttons as eyes, add a bow around the neck using ribbons, or even affix small felt shapes—like hearts or stars—to create a more playful effect.
These felt bunnies can be propped on your desk, where they will serve as cheerful decorations, or be used as unique gifts for colleagues. They are not only visually appealing but also a delightful way to celebrate the Easter season, bringing a touch of joyous spirit to your workspace. With just a few simple steps and a little creativity, you can craft distinctive felt Easter bunnies that brighten up any desk.
Origami Bunny Paperweights
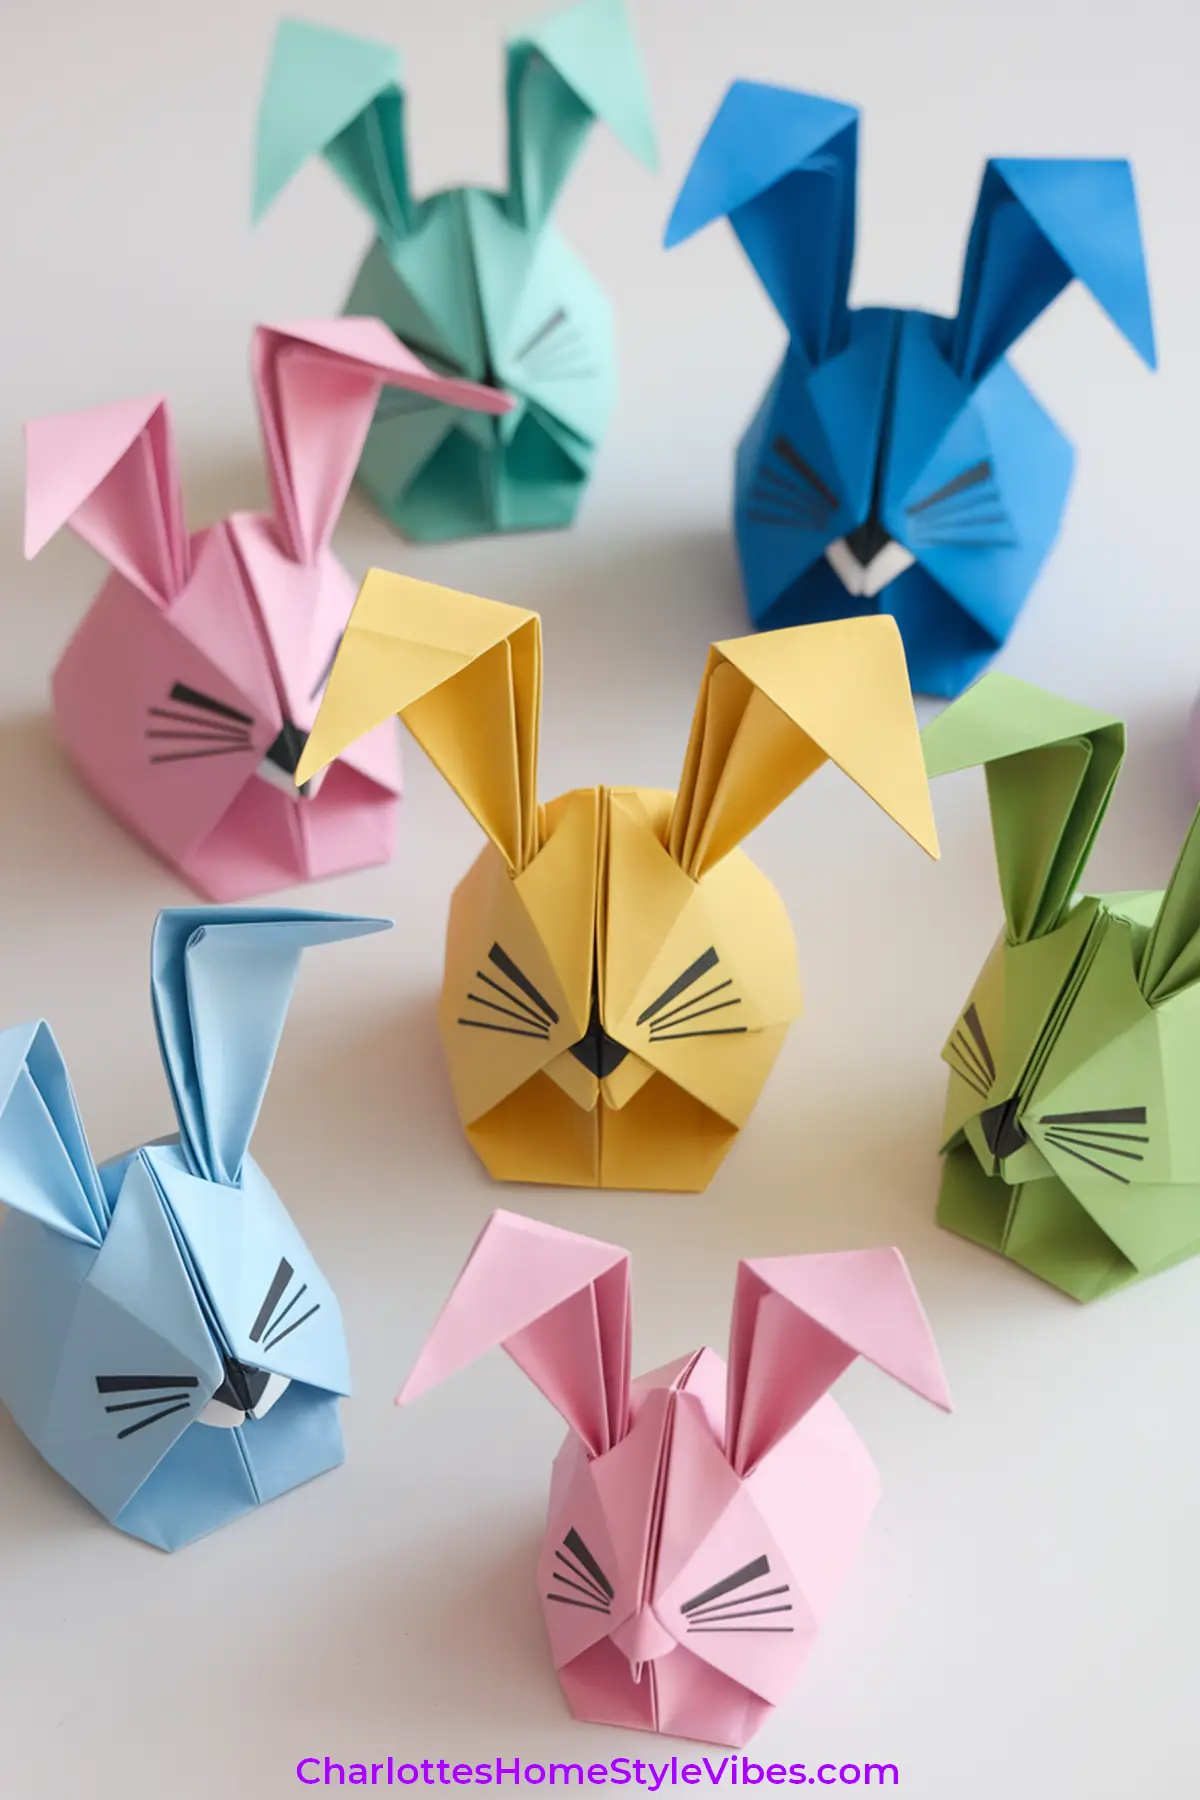
Origami has long been cherished as a creative outlet and a way to produce enchanting decorations. This Easter, consider making origami bunny paperweights that not only serve a practical purpose but also bring a touch of festive charm to your desk. To begin, select a suitable type of paper; lightweight origami paper is ideal due to its flexibility, but any decorative paper with a pleasing pattern or color will work beautifully. Standard letter-size paper can also suffice when you’re in a pinch.
To create your origami bunny, start by folding your paper in half diagonally, forming a triangle. Then, unfold and fold the top corners down to meet the center crease, creating a smaller triangle. Next, take the bottom point of the triangle and fold it upwards to form the bunny’s head. The next step involves folding the top of the head down slightly to create the ears. Finally, adjust the remaining folds, ensuring that the bunny retains its shape. Detailed guides and instructional videos are available online for those needing further clarification on the folding techniques.
Once you’ve successfully folded your origami bunny, consider adorning it with decorations. Using markers, you can draw facial features or embellish the body with designs that reflect the Easter theme. Furthermore, washi tape can be applied to enhance patterns and colors, making each bunny unique. The finished origami bunnies not only function as paperweights—keeping your documents organized—but also add an artistic flair to your workspace during the Easter season. By incorporating these charming crafts into your environment, you can capture the spirit of the holiday while enjoying a sense of accomplishment in creating something delightful.
Pom-Pom Bunny Figures

The creation of pom-pom bunny figures offers a delightful way to embrace the Easter spirit through crafting. To begin this project, you will need a few key materials: yarn in your preferred colors, scissors, and a pom-pom maker. If you do not have a pom-pom maker, wrapping the yarn around your fingers will also suffice. A pair of googly eyes and felt in various colors will be used to create your bunny’s features, while a hot glue gun will serve to attach embellishments securely.
Follow these step-by-step instructions to craft your fluffy pom-pom bunny figures. Begin by wrapping the yarn around the pom-pom maker or your fingers approximately 50 times, ensuring that the yarn is tightly wound for a fuller bunny shape. Once you have achieved the desired thickness, carefully pull the yarn off and tie a secure knot in the center. Trim the ends of the yarn to create a round silhouette, shaping your bunny as necessary. Repeat this process in various sizes to create a family of bunnies.
Next, cut out some ears from felt and attach them to the top of your pom-pom using the hot glue gun. For the eyes, you may use felt or googly eyes, depending on your preferred aesthetic. These embellishments will add personality and charm to your bunnies. As for displaying your adorable creations, consider placing them in a small basket or on a decorative tray on your desk. Their cheerful presence will enhance your workspace with a festive touch as Easter approaches. Sharing these lovely pom-pom bunny figures with family and friends can also encourage others to explore the joys of crafting during this delightful season.
Wooden Bunny Cutouts
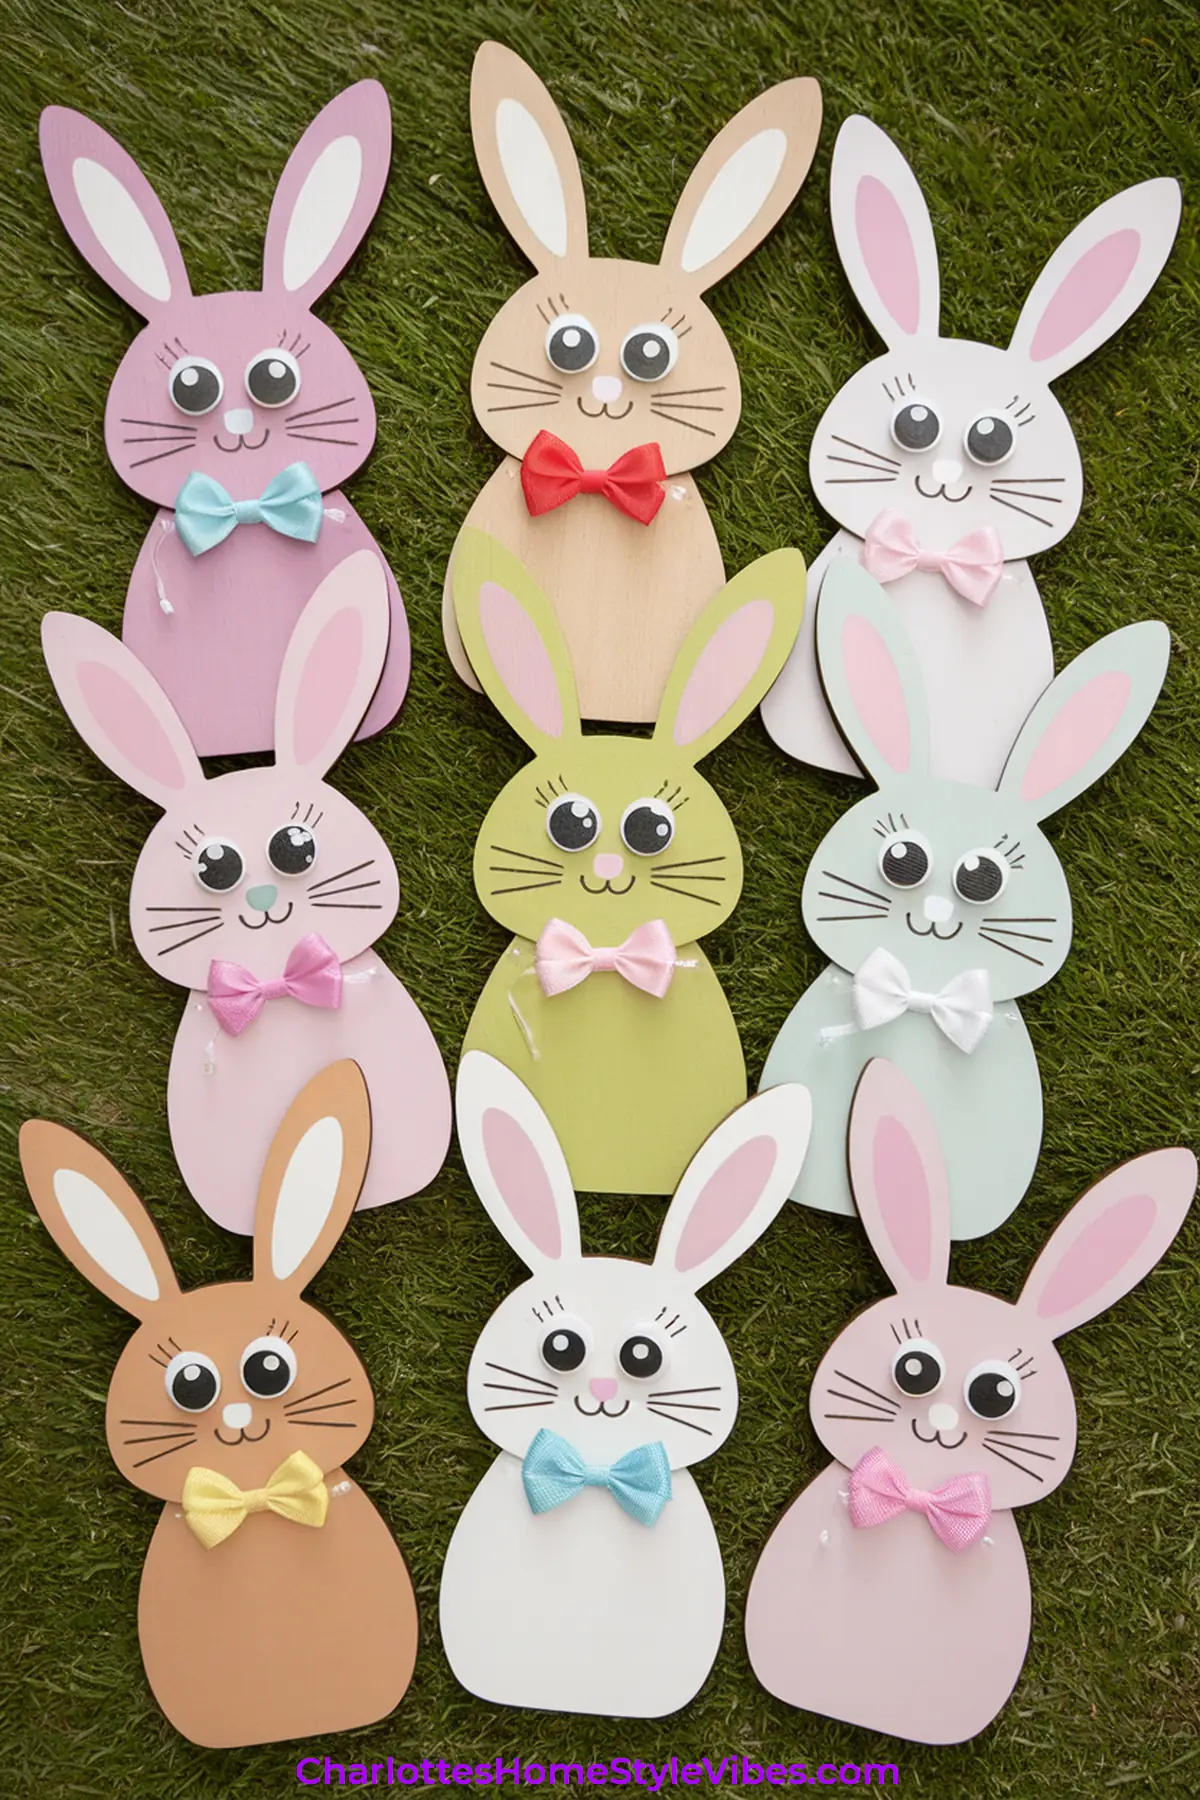
Handcrafted wooden bunny cutouts are an enchanting way to add a rustic charm to your desk decor this Easter. These delightful pieces can be crafted from various types of wood, with popular choices including pine, birch, and plywood due to their accessibility and ease of handling. Each wood type offers a unique aesthetic; for instance, pine has a light color with visible grain patterns, while birch is smooth and can be easily painted or stained. Selecting the right wood can greatly influence the overall look of your handcrafted bunnies.
To create your wooden bunny cutouts, a few essential tools are required. A saw, such as a jigsaw or scroll saw, will be necessary for cutting the wood into the desired bunny shape. Alongside the saw, you will need sandpaper to smooth out rough edges for a polished finish. For those new to crafting, it is advisable to create or download templates to trace the bunny outlines before cutting, ensuring accuracy in shape and size. Protective gear, including gloves and safety glasses, is also recommended to ensure a safe crafting experience.
Once the cutouts are shaped and sanded, the painting process begins. Acrylic paints are an excellent choice for their vibrant colors and quick drying time. You can add fun designs, such as polka dots or stripes, to enhance the visual appeal. Consider personalizing your wooden bunny cutouts by adding names, seasonal greetings, or inspirational quotes using paint or embellishments such as wood burning tools. This unique touch transforms a simple decoration into a meaningful piece for your workspace, making it a wonderful way to infuse your personality into your festive desk decor.
Clay Mini Bunny Sculptures
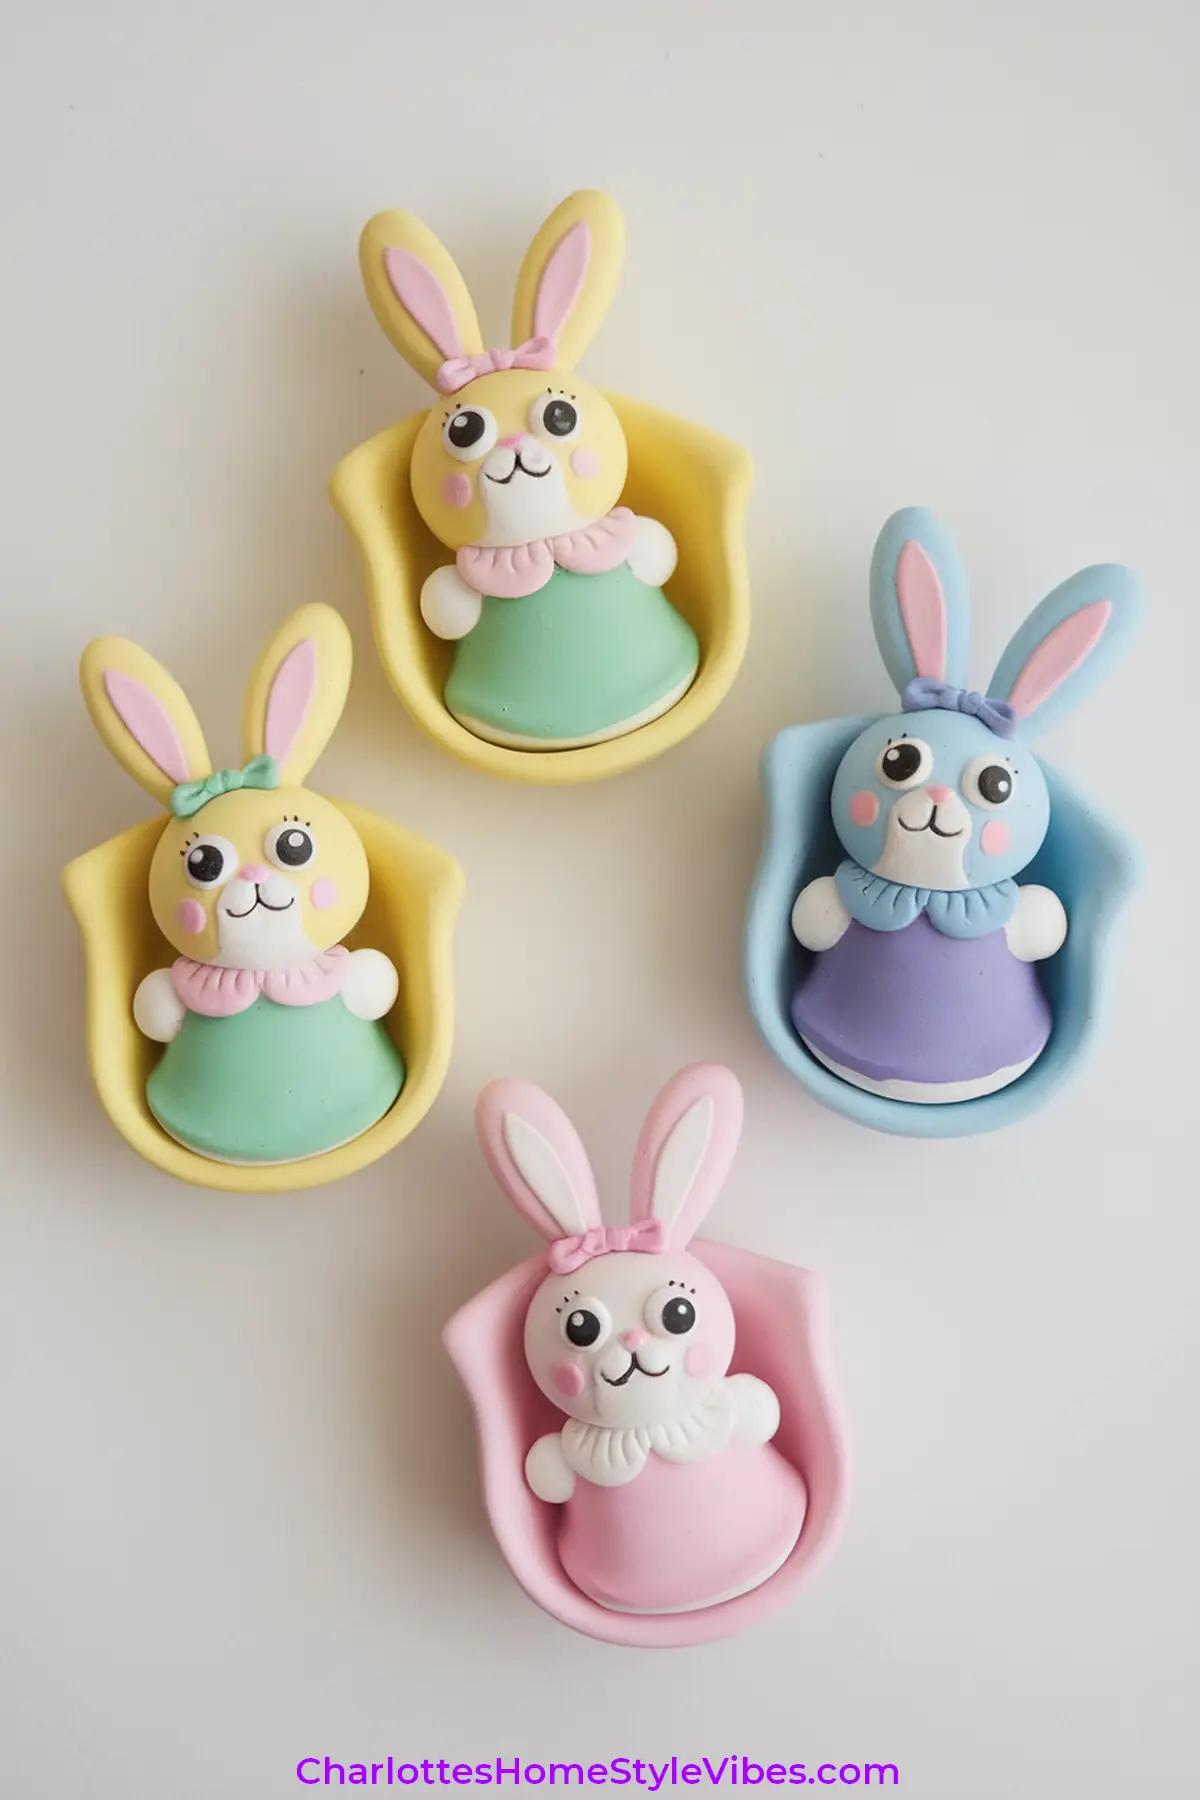
Creating clay mini bunny sculptures is an enjoyable and rewarding craft that adds a personal touch to your workspace. To get started, you will need a few essential materials, primarily polymer clay, which is available in various colors. Consider using white, pink, and brown clay to achieve a range of delightful bunny designs. You will also require sculpting tools, such as a blade, a dotting tool, and your fingers, to shape and detail your tiny creations.
Begin by rolling small pieces of polymer clay into balls to form the bunny’s body and head. For a standard-sized bunny, use a larger ball for the body and a smaller one for the head. Combine the two by gently pressing them together. To define the shape, use your fingers to smooth the connection. Next, create the ears by rolling out two thin strips of clay, bending them into a long oval shape, and attaching them to the top of the head. You can add character by incorporating additional features like eyes, a nose, and whiskers, using contrasting colors if desired.
Once you have finished sculpting, it’s time to bake the sculptures according to the instructions provided with your polymer clay. Typically, baking at approximately 275°F (135°C) for 15-30 minutes will ensure the sculptures harden properly. After baking, allow them to cool completely before handling. For an appealing finish, consider painting details or applying a clear gloss sealant to enhance the colors and protect your mini bunnies.
These clay mini bunny sculptures can become quirky desk companions, brightening up your office décor while showcasing your creativity. Their handmade charm is not only satisfying to craft but also makes for delightful gifts or personal decorations during the Easter season.
Bunny Paper Clips
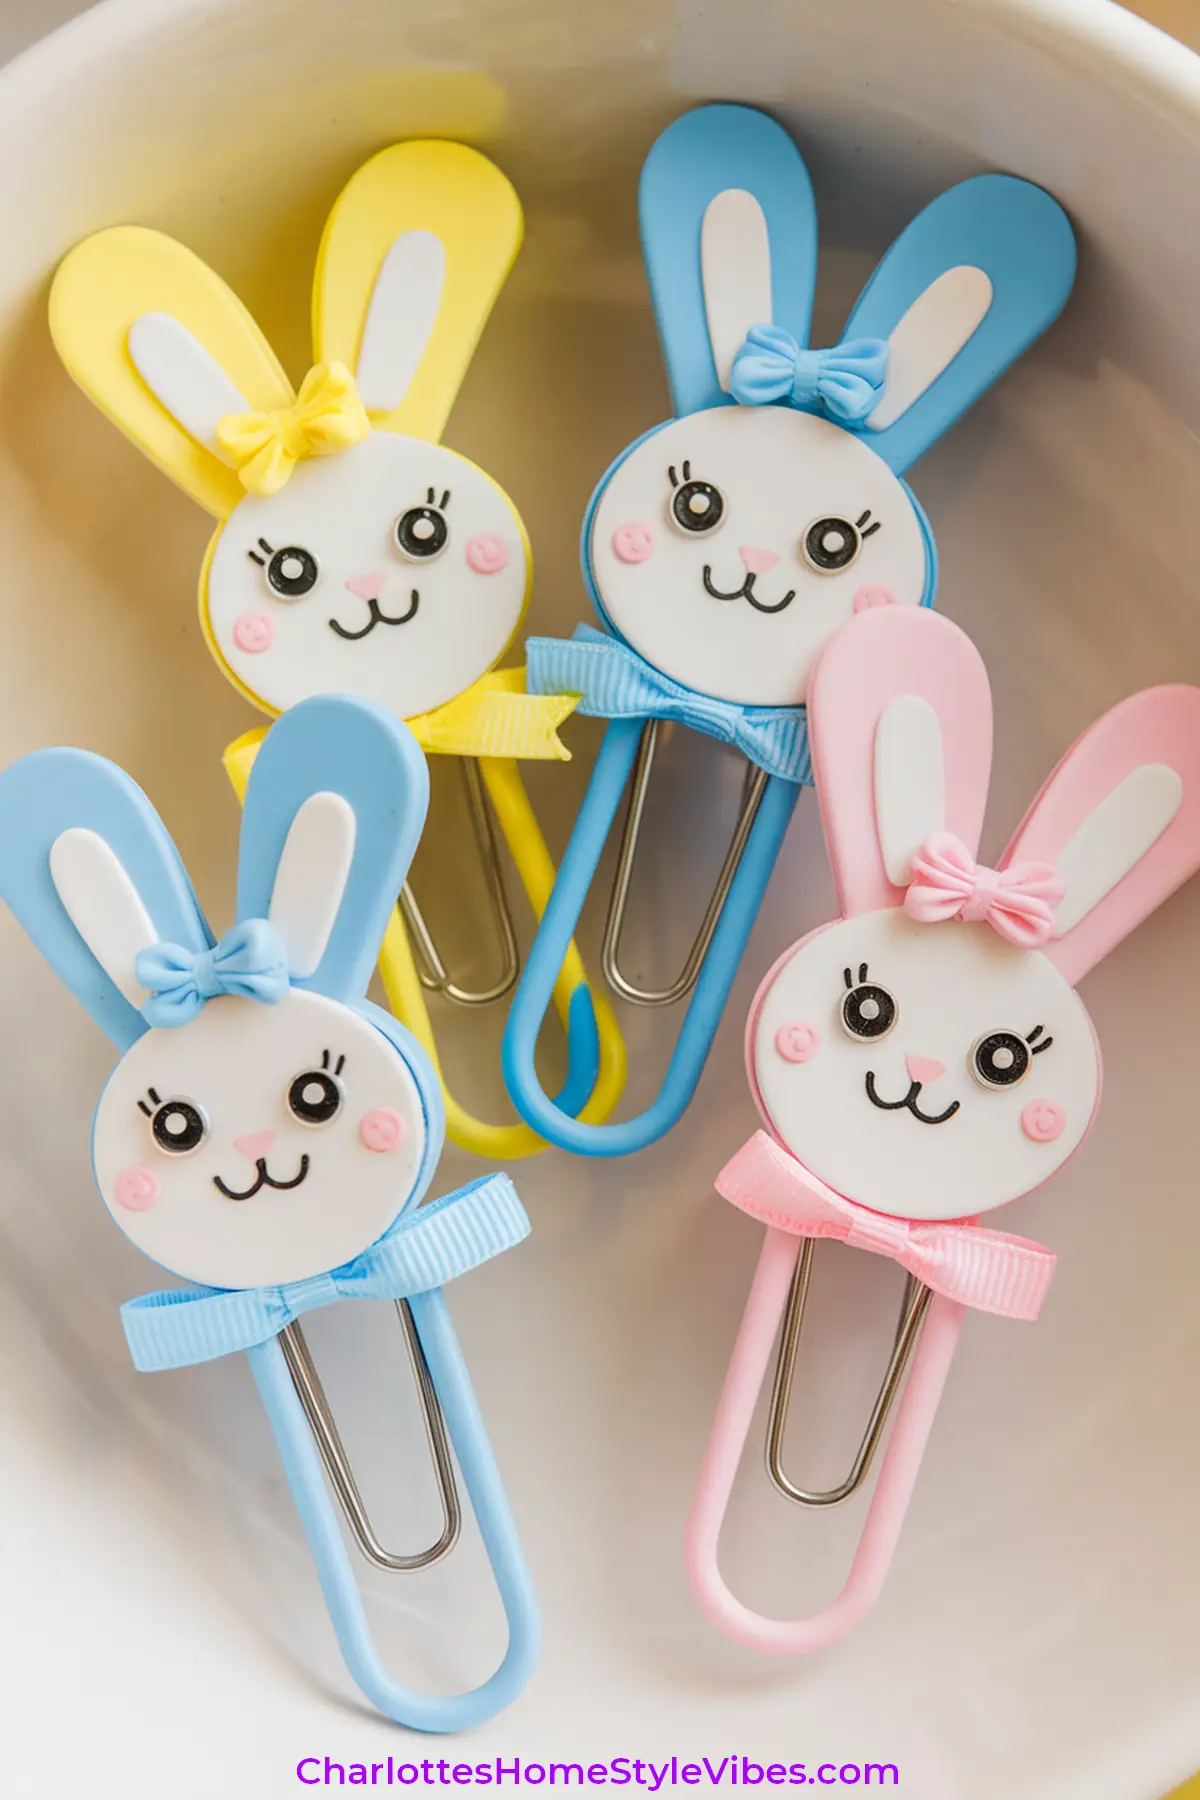
Add a bit of whimsy to your paperwork with some bunny paper clips! Simply glue small paper bunny cutouts to the top of your paper clips. You can customize the colors to suit your style—bright pastels are perfect for spring!
Pom-Pom Chick Stress Relievers
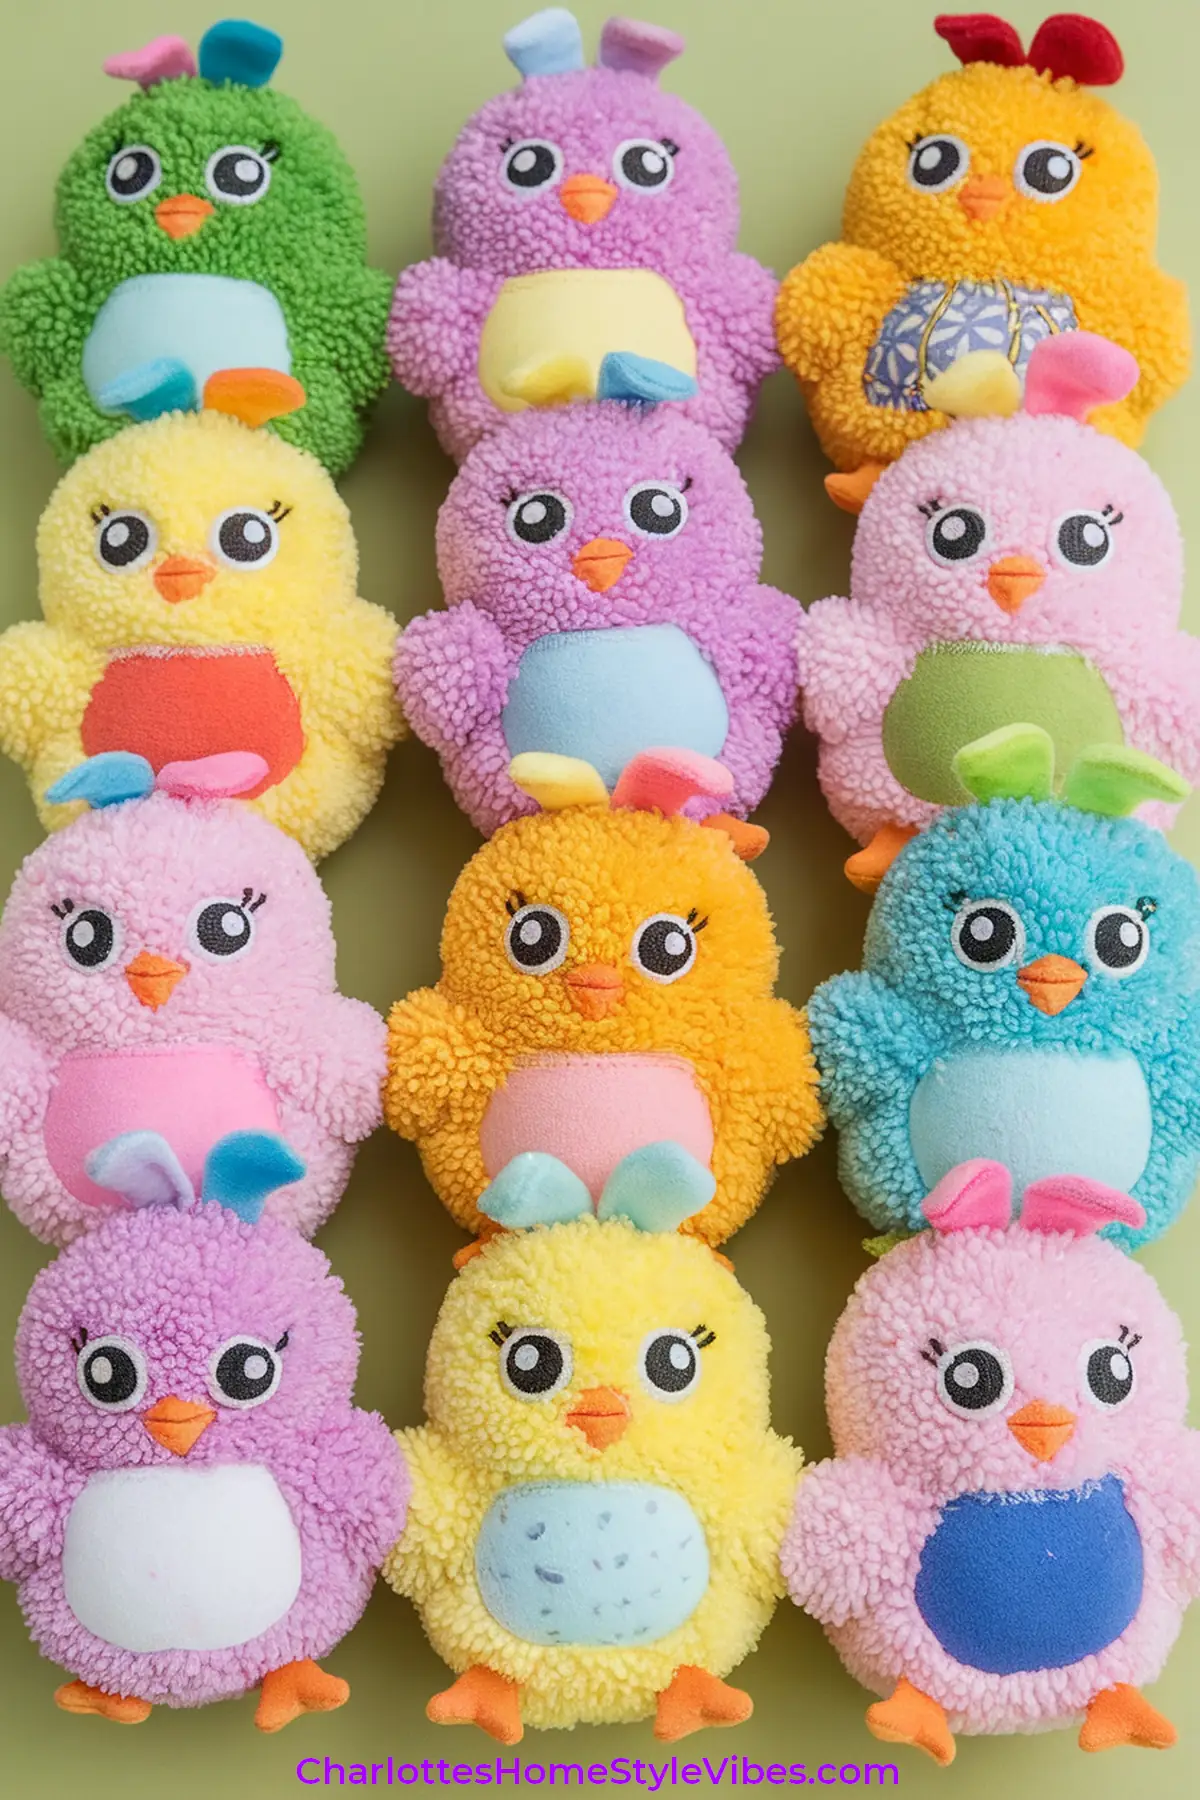
Create some fluffy friends with pom-pom bunnies! Using yarn, make pom-poms in various sizes and attach them to each other with glue. Add some felt ears and eyes, and you’ll have the cutest little desk buddies.
Painted Mini Bunny Pots
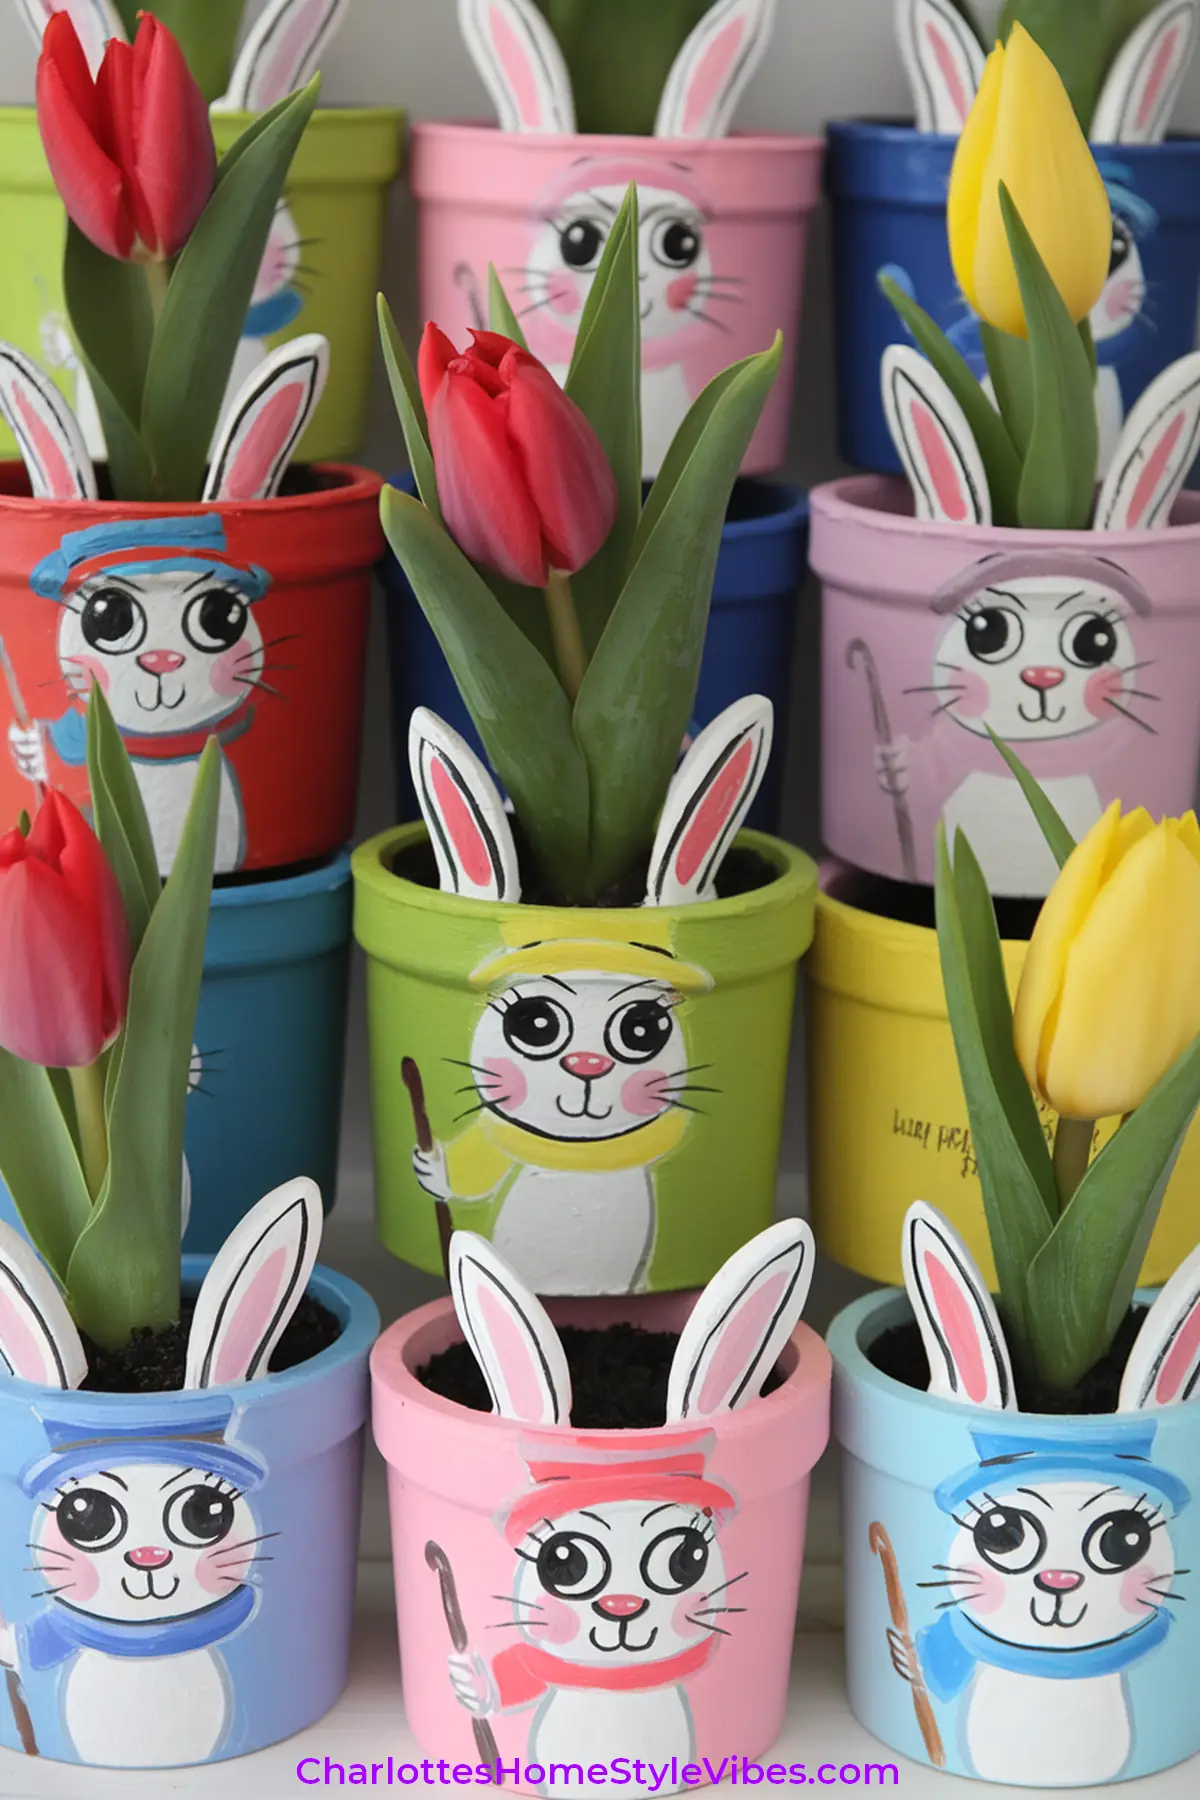
Transform small flower pots by painting them with bunny faces. You can fill them with faux flowers or even real ones, brightening your desk. This craft is great for adults and kids alike!
Bunny Envelope Notes
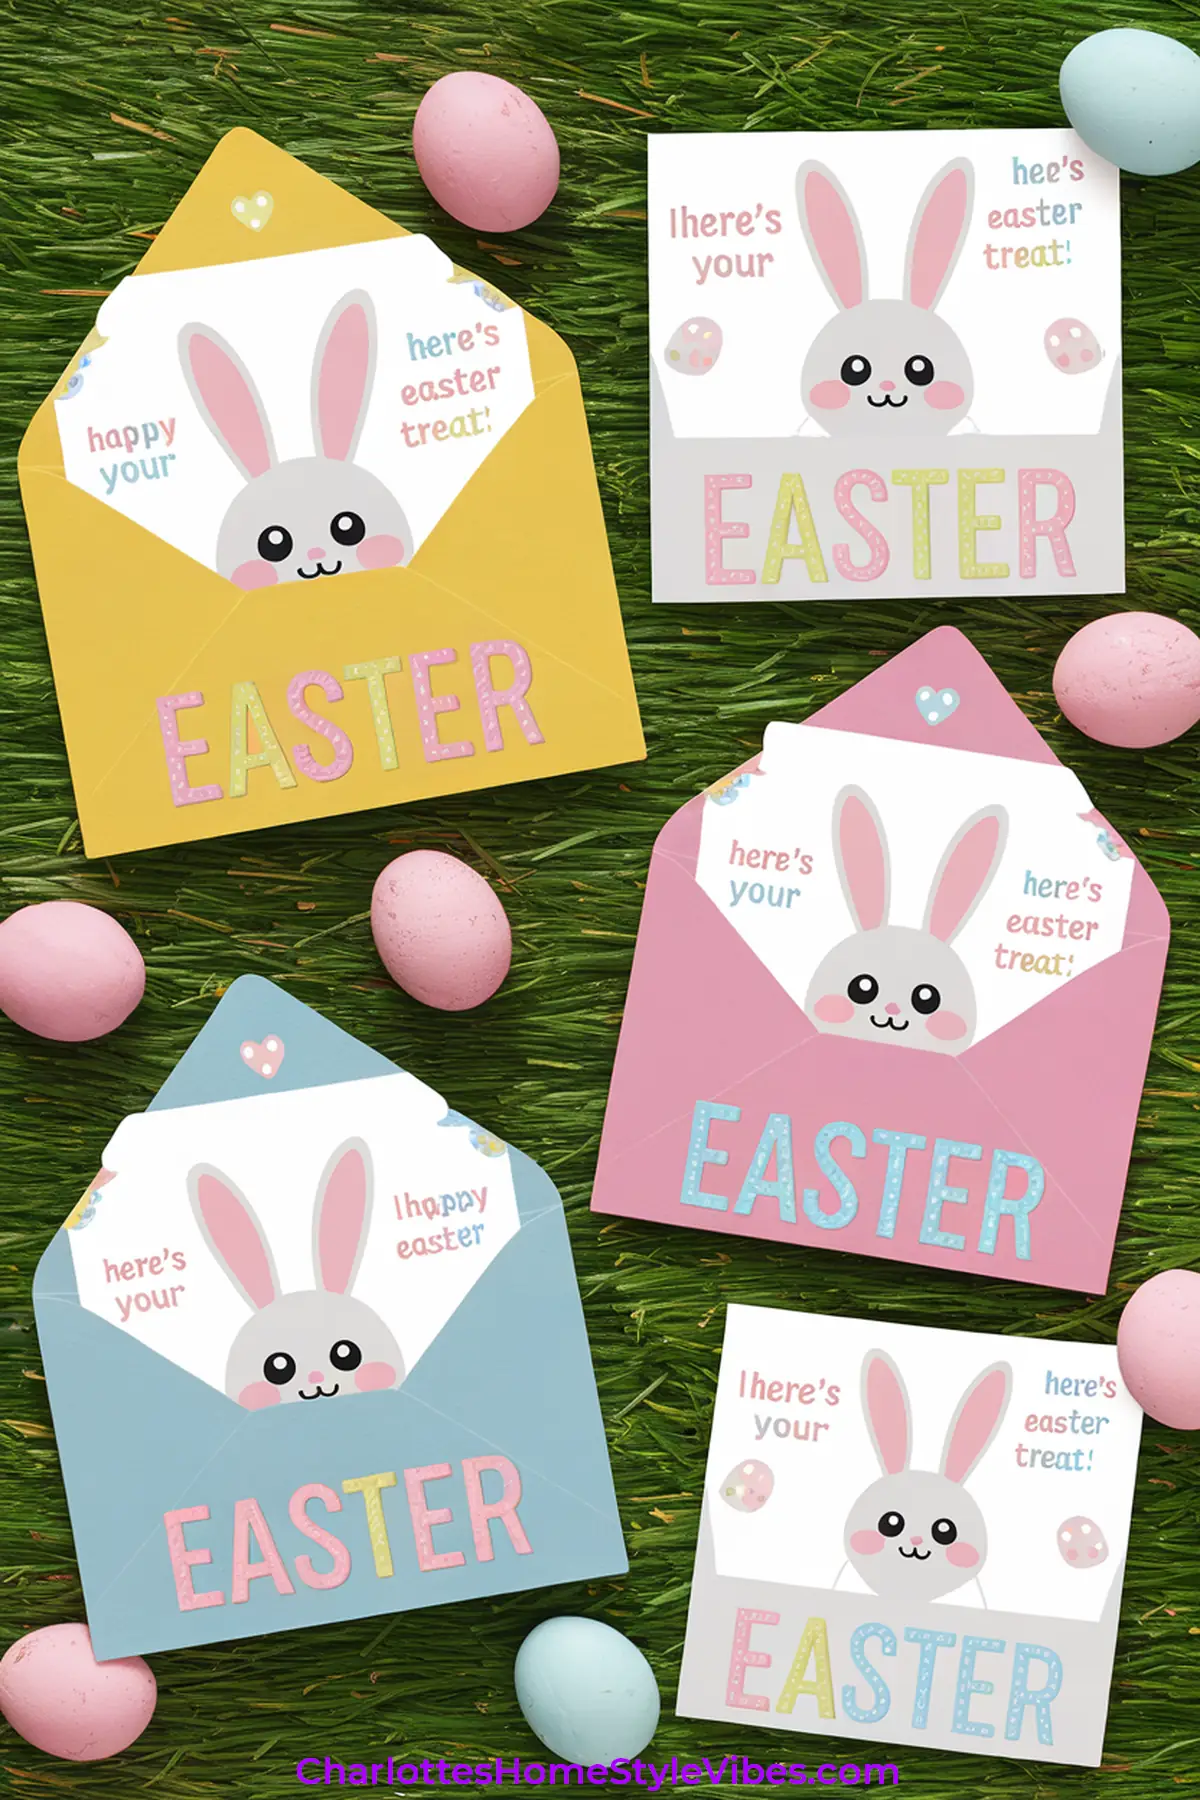
Create bunny-themed envelopes for notes or reminders. Decorate plain envelopes with bunny faces and pastel colors. Leave sweet messages for colleagues and friends throughout the season.
Easter Bunny Banner
Make a cheerful banner out of colored paper or fabric! Cut out bunny silhouettes and string them together. Hang it across your desk or office for an instant Easter vibe.